When choosing camera settings for video production, there are several key factors to consider, including resolution, frame rate, shutter speed, aperture, and ISO.
Table of Contents
Framerate
Frame rate refers to the number of frames captured per second in a video. The most common frame rates for video production are 24fps, 25fps, and 30fps. Higher frame rates such as 60fps or even 120fps can be used for slow-motion effects.
Shutter speed: Shutter speed refers to the amount of time that the camera’s sensor is exposed to light. A slower shutter speed will result in more motion blur, while a faster shutter speed will freeze motion.
Aperture: Aperture refers to the size of the camera’s aperture, or lens opening. A larger aperture will result in a shallow depth of field, which can be used to create a blurred background effect.
ISO: ISO refers to the sensitivity of the camera’s sensor to light. A higher ISO will result in a brighter image, but can also introduce noise or grain into the image.
It’s important to consider the overall look and feel you want to achieve with your video, as well as the lighting conditions of the scene, when choosing your camera settings. It’s always good practice to test the settings before the actual shoot.
Aperture
Aperture is a measure of the amount of light that enters a camera lens. It is determined by the size of the lens opening (iris) which can be adjusted to let more or less light into the camera. Aperture is measured in “f-stops” (f/stop), where a lower f-stop number represents a larger lens opening and a higher f-stop number represents a smaller lens opening.
Aperture controls the depth of field in an image, which is the area in the image that appears in focus. A larger aperture (lower f-stop number) will result in a shallower depth of field, where the background is blurrier and the subject is more in focus. A smaller aperture (higher f-stop number) will result in a deeper depth of field, where more of the image is in focus.
Choosing the right aperture depends on the subject and the desired visual effect. A shallow depth of field can be used to isolate a subject and make it stand out, while a deeper depth of field can be used to keep more of the image in focus. In low light situations, a larger aperture is recommended to let more light in and keep the ISO low.
It’s important to note that aperture also affects the exposure, so when you change the aperture you may need to adjust the shutter speed or ISO to maintain the correct exposure.
The relationship between aperture, F-stop, and depth of field (DoF)
Aperture, f-stop, and depth of field (DoF) are all closely related concepts in photography and videography.
Aperture refers to the size of the lens opening that allows light to enter the camera. This is controlled by the aperture blades inside the lens, which can be adjusted to make the opening larger or smaller.
F-stop is a measurement of aperture, it’s the ratio of the lens focal length to the aperture diameter. It’s an inverse relationship, so a lower f-stop number represents a larger aperture, and a higher f-stop number represents a smaller aperture.
Depth of field (DoF) refers to the area of an image that appears to be in focus. A shallow DoF means that only a small part of the image is in focus, while a deep DoF means that more of the image is in focus.
The relationship between aperture, f-stop, and DoF is that aperture controls the amount of light that enters the camera, and also controls the DoF in an image. A larger aperture (lower f-stop number) results in a shallower DoF, where the background is blurrier and the subject is more in focus. A smaller aperture (higher f-stop number) results in a deeper DoF, where more of the image is in focus. So, if you want to achieve a shallow DoF, you should use a low f-stop number, which corresponds to a larger aperture, and if you want to achieve a deep DoF, you should use a high f-stop number, which corresponds to a smaller aperture.
How F-stops are connected to the depth of field (DoF)
F-stops and depth of field (DoF) are connected in that f-stops are used to measure aperture, which controls the amount of light that enters the camera, and also controls the DoF in an image.
The f-stop value is the ratio of the lens’s focal length to the aperture diameter. It’s an inverse relationship, so a lower f-stop number represents a larger aperture, and a higher f-stop number represents a smaller aperture.
A larger aperture (lower f-stop number) allows more light to enter the camera and also results in a shallower depth of field. This means that only a small area of the image is in focus, with the background and foreground appearing blurrier. This can be used to create a selective focus effect and isolate the subject.
On the other hand, a smaller aperture (higher f-stop number) allows less light to enter the camera and results in a deeper depth of field. This means that more of the image is in focus, including the background and foreground. This can be used for landscape or architectural photography, where you want to keep everything in focus.
To summarize, as the aperture (f-stop) decreases, the depth of field becomes shallower, and as the aperture (f-stop) increases, the depth of field becomes deeper.
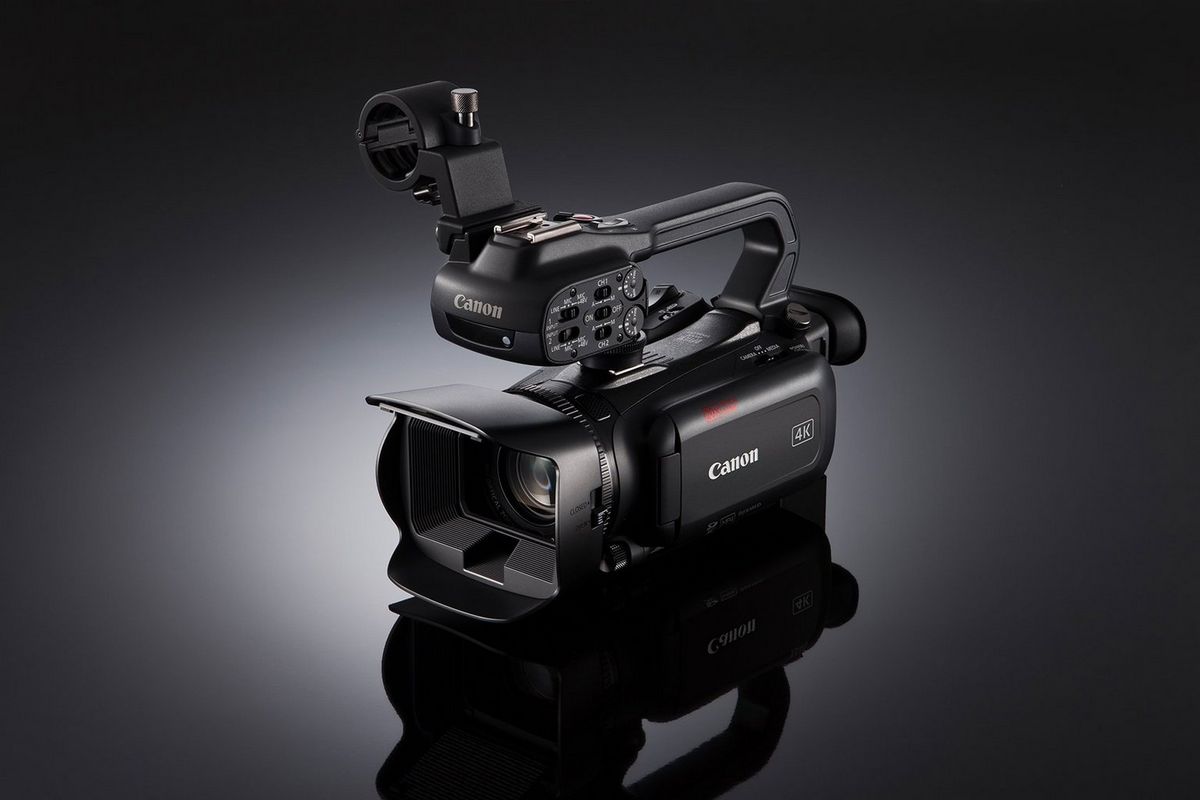
Camera for Video
There are several options for cameras that can be used for video best camera for video under $500. Some of the best options include:
- Canon VIXIA HF R800: This camera offers 1080p resolution, a 57x advanced zoom and a 3.0-inch touch panel LCD. It also has a built-in microphone and a built-in video light, making it a good option for vlogging or basic video production.
- Sony HDRCX405: This camera offers 1080p resolution, a 30x optical zoom, and a 2.7-inch LCD screen. It also has a built-in microphone and a built-in video light, making it a good option for vlogging or basic video production.
- Panasonic HC-V180K: This camera offers 1080p resolution, a 50x optical zoom, and a 2.7-inch LCD screen. It also has a built-in microphone and a built-in video light, making it a good option for vlogging or basic video production.
- Kodak Pixpro AZ401: This camera offers 1080p resolution, a 40x optical zoom, and a 3.0-inch LCD screen. It also has a built-in microphone and a built-in video light, making it a good option for vlogging or basic video production.
- Olympus VN-711PC: This camera offers 1080p resolution, a 4x digital zoom, and a 1.44-inch LCD screen. It also has a built-in microphone and a built-in video light, making it a good option for vlogging or basic video production.
It’s worth noting that for that price range the camera’s capabilities are limited and a few features like manual controls, 4k resolution, high-speed frame rates, interchangeable lens etc. may not be available. And also, the image quality and low light performance may be limited.
A quick note on some of the main differences between cinema lenses and photography lenses
Cinema lenses and photography lenses have some key differences that are important to consider when deciding which lens to use for a specific project.
- Focusing: Cinema lenses typically have smooth and precise manual focus gears that allow for more accurate and consistent focus pulls. Photography lenses tend to have autofocus systems and less smooth manual focusing.
- Aperture: Cinema lenses typically have a constant aperture throughout the zoom range, which allows for more consistent exposure and depth of field. Photography lenses tend to have variable apertures that change as the lens is zoomed.
- Image Quality: Cinema lenses are typically designed with more advanced optics and coatings to provide a higher level of image quality, especially in terms of color accuracy and sharpness.
- Durability: Cinema lenses are built to withstand the demands of professional video production and are often made with more durable materials. Photography lenses are usually designed for less demanding use.
- Compatibility: Cinema lenses are typically designed to be used with professional video cameras and have different mounts, while photography lenses are designed to be used with still cameras and have different mounts.
- Cost: Cinema lenses tend to be more expensive than photography lenses because they are designed to meet the demands of professional video production and the cost of optics is higher.
It’s worth noting that there are also lenses that can be used for both photography and videography, some of them are labeled as “cine-mod” lenses, which are photography lenses that are modified to be used for videography and have features such as smooth aperture and manual focus gears.
Conclusion
In conclusion, cinema lenses and photography lenses have different characteristics that make them more suitable for specific types of projects. Cinema lenses are designed for professional video production and have features such as smooth manual focus gears, constant aperture, high image quality and durability. Photography lenses, on the other hand, are designed for still photography and have features such as autofocus systems, variable aperture and less demanding use.
It’s important to consider the specific needs of a project when choosing between a cinema lens and a photography lens, and also keep in mind that there are lenses that can be used for both photography and videography. Additionally, the cost of cinema lenses is usually higher than photography lenses.