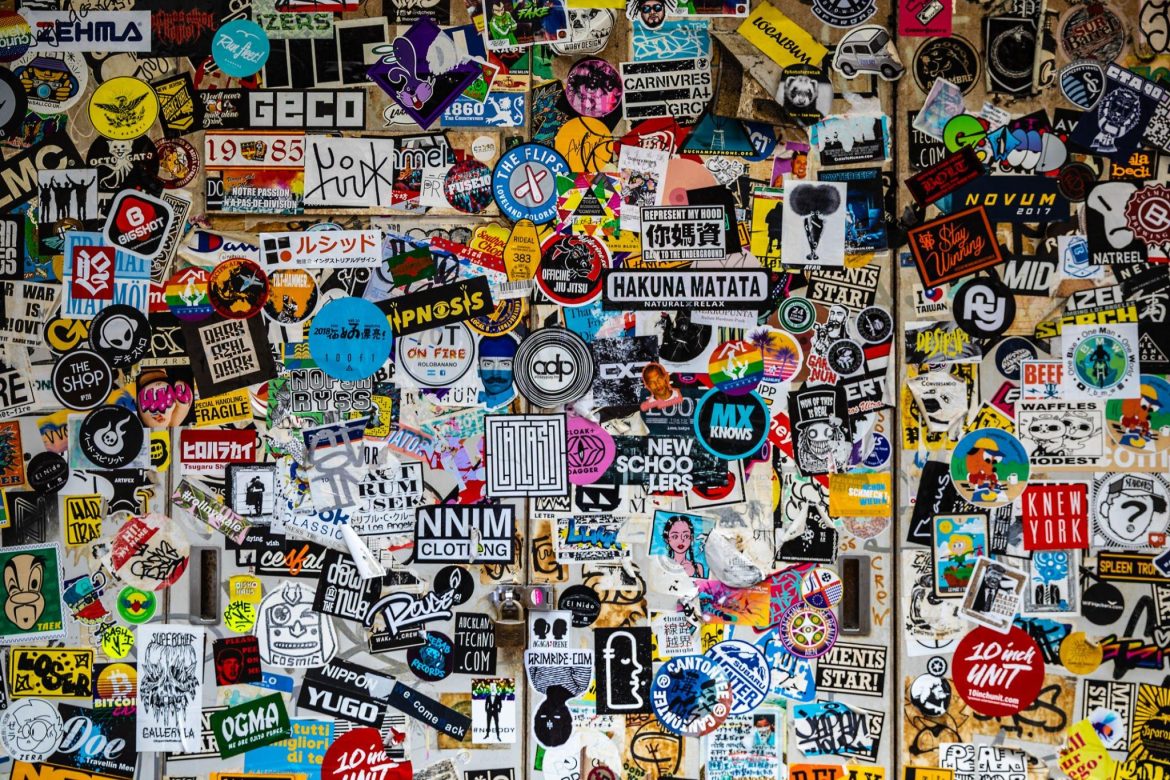
Making custom vinyl sticker is a great way to add your personal touch to any project. Whether you’re looking to make labels for your home office supplies or decals for your car, there are a few simple steps to creating high-quality stickers that will last. This blog post will show you how to make custom vinyl stickers using a Cricut cutting machine and some basic materials. You can create unique and long-lasting stickers with just a little effort. Let’s get started!
Choose the type of vinyl you want to use
Custom vinyl stickers are a versatile and affordable way to promote your business, show your support for a cause, or express your style. But with so many types of vinyl to choose from, it can be tough to know where to start. Here’s a quick guide to the most popular vinyl stickers to find the perfect sticker for your needs.
One of the most popular types of vinyl stickers is cut vinyl. Cut vinyl is made by cutting out shapes from colored vinyl. This sticker is durable and easy to apply, making it ideal for outdoor use. Plus, cut vinyl can be die-cut into any shape you want so that you can get creative with your design. Cut vinyl is an excellent option if you’re looking for a cost-effective way to promote your business or show your support for a cause.
Another popular type of vinyl sticker is printed vinyl. Printed vinyl stickers are made by printing your design onto a sheet of self-adhesive vinyl. This sticker is more affordable than cut vinyl, making it an excellent choice for large projects. Plus, printed vinyl stickers are available in full color, so you can make your design stand out. Printed vinyl is an excellent option if you’re looking for an affordable way to promote your business or show your support for a cause.
Finally, consider custom-printed Blockout labels if you’re looking for something truly unique. Blockout labels are made by printing your design onto a sheet of adhesive vinyl and then laminating it with a layer of explicit blackout material. This creates a durable, weatherproof label that is completely opaque, meaning it can’t be removed or reused. Custom-printed blockout labels are a great option if you’re looking for a durable and eye-catching way to promote your business or show your support for a cause.
Cut out your design using a cutting machine or scissors.
Once you have designed your custom vinyl sticker, it’s time to cut it out! If you use a cutting machine, load your design into the software and hit “Cut.” The device will do the rest. If you are cutting by hand, carefully trace your design onto the vinyl and then use a sharp craft knife or scissors to cut it out. Once you have cut out your plan, weed away any excess vinyl. Now you’re ready to apply your sticker!
Weed out the excess vinyl and apply transfer tape
Applying transfer tape to custom vinyl stickers is a great way to ensure that your stickers stay in place. First, weed out the excess vinyl around your design. Then, apply transfer tape to the top of your design. Once the transfer tape is in place, slowly peel it away from the backing paper. Hold the transfer tape firmly so your plan doesn’t move. Finally, apply the vinyl sticker to your desired surface and press down firmly. The transfer tape will help to keep your custom vinyl sticker in place until you’re ready to remove it.
Apply the sticker to your desired surface
Applying a custom vinyl sticker is a simple process that anyone can do. Follow these steps, and you’ll have your sticker on in no time. First, clean the surface where you want to apply the sticker. This will help the sticker to adhere better and prevent any dirt or debris from getting trapped under it. Next, peel the backing off the sticker and position it on the surface. Once you’re happy with the placement, gently press down on the sticker to secure it in place. Finally, use a credit card or similar object to smooth out any bubbles or wrinkles. And that’s it! Your custom vinyl sticker is now applied and ready to show off. Thanks for choosing Custom Vinyl Sticker Company!
Remove the transfer tape, and enjoy your new sticker!
You’ve just finished creating a custom vinyl sticker, and now it’s time to remove the transfer tape. The first step is to slowly peel back the tape, keeping the sticker in place. If any parts of the sticker started to come up with the video, press them back down. Once you’ve removed the entire tape, look closely at your sticker to ensure all parts are still in place. If everything looks good, enjoy your new sticker! If not, don’t worry – you can always try again. With a bit of practice, you’ll be able to create perfect stickers every time. Thanks for choosing Custom Vinyl Stickers!
Conclusion
We have provided a helpful guide if you want to make eye-catching custom vinyl stickers. You can either follow the steps outlined in this blog post or send us your design and let our team of professionals take care of everything for you. We specialize in high-quality custom vinyl sticker printing and guarantee that you will love the results. Contact us today to get started!

