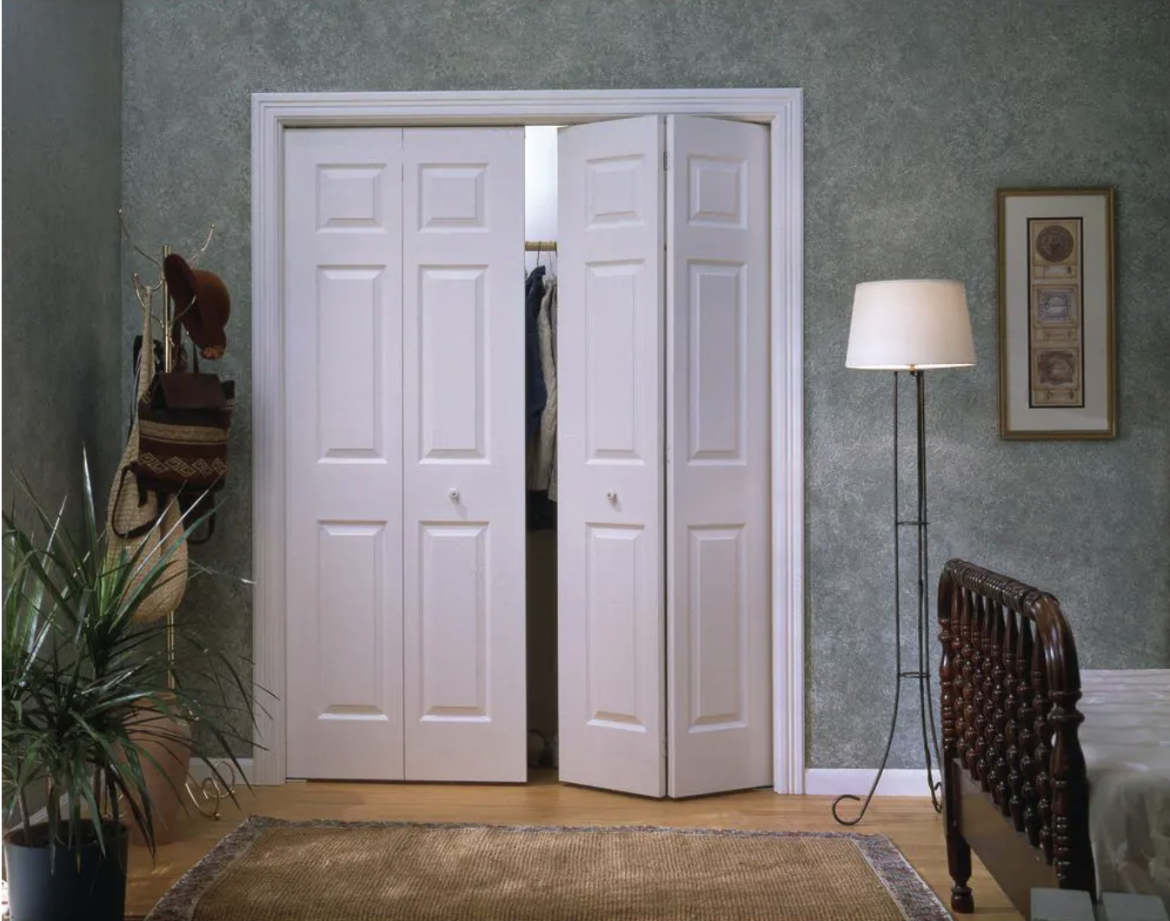
Installing a bi-fold closet door is an inexpensive way to upgrade the look of your home. It’s easier than you might think, and with this guide, you can do it in no time! Even if you don’t have any experience, you can still hang a bi-fold closet door quickly and easily.
Before You Begin
Before getting started, it’s important to make sure that you have all of the tools and materials that you need. The most basic toolkit should include a stud finder, drill/driver, level, wood screws, and 2×4 scraps for shimming the door frame. If you are hanging a new frame from existing drywall (rather than from the framing of a wall), then you will also need molly bolts or toggle bolts.
Installing the Frame
The first step is to install the frame onto which your bi-fold door will be mounted. Depending on what type of wall your closet is built into (existing drywall vs. framed wall), there are different methods for mounting the frame. If your closet is built into existing drywall, then use molly bolts or toggle bolts for secure mounting. Alternatively, if your closet is built into a framed wall, then screw directly through the drywall into the framing behind it using wood screws. Once your frame is installed securely onto the wall, check it with a level to make sure that it is plumb and level before proceeding further.
Attaching Your Door Hardware Next up is attaching the hardware that will hold your bi-fold door in place. Most bi-fold doors come with two brackets; one at each end of the top track where they pivot on either side of the doorway opening when opened or closed. Attach these brackets using wood screws provided by the manufacturer so they sit flush against both sides of your doorway opening as tightly as possible without any gaps between them and their corresponding surfaces in order to ensure smooth operation when opening and closing your bifold doors later on down in this process.
Hanging Your folding doors Now comes time for hanging up those doors! Start by inserting one side panel into its bracket at one end of the top track before inserting its partner panel into its respective bracket at the other end – doing so simultaneously helps keep everything aligned properly during installation which makes things go smoother overall here in this final step!
After both panels are securely inserted into their respective brackets/tracks adjust any necessary shims if needed until everything lines up nicely (especially along those top tracks) before fastening everything down permanently with wood screws once again provided by their respective manufacturers per instructions given therein provided paperwork/instructions included with purchase upon initial delivery thereof originally received upon purchase initially made earlier prior thereto previously beforehand respectively speaking accordingly relatedly mentioned above herewith hereinbefore notedly stated respectively previously mentioned thusly accordingly mentioned aforesaid so said.
And just like that – voila! Your new bifold doors are now installed! Now stand back and admire that beautiful product upgrade job done right today!
Conclusion:
Hanging a bi-fold closet door doesn’t have to be intimidating – even if you don’t have much experience with DIY projects or home improvement tasks like this one! With some basic tools, materials and following this simple guide—you can have it done in no time at all! So go ahead—give yourself some credit—you just successfully upgraded your home today! Congratulations on installing your new bi-fold closet door! You did great work today—enjoy showing off these results every time somebody opens or closes those beautiful new bifold doors now hanging proudly proudly within yonder thereover thither aforementioned directly therein inside said aforesaidroom previously mentioned–Enjoy! 🙂

